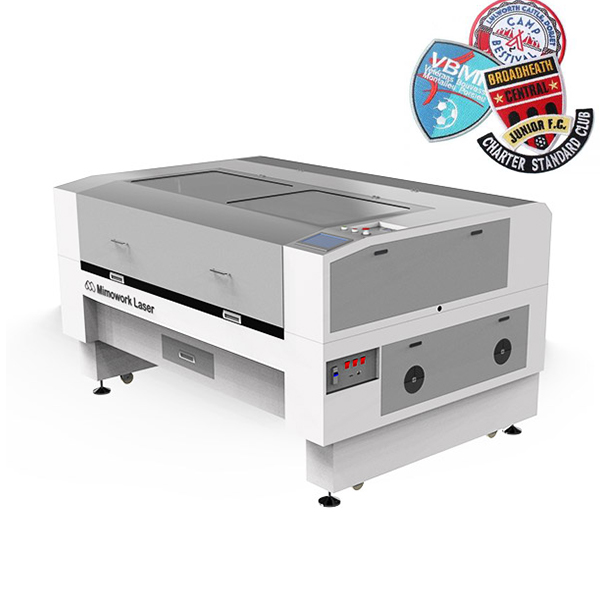
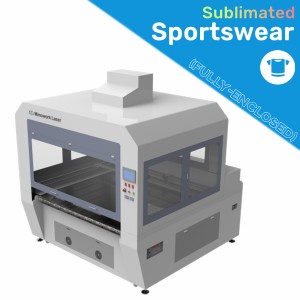
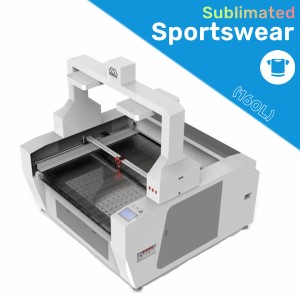
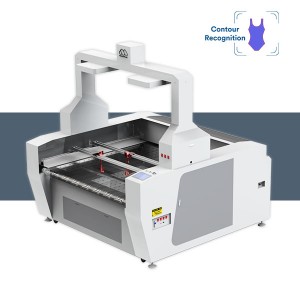
Custom Laser Cut Patch Machine
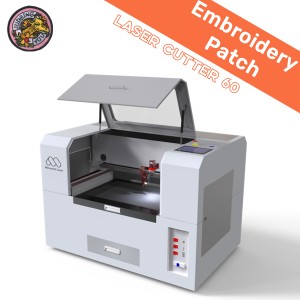
Embroidery Laser Machine, Woven Label Laser Cutting Machine
Technical Data
| Working Area (W*L) | 900mm * 500mm (35.4” * 19.6”) |
| Software | CCD Software |
| Laser Power | 50W/80W/100W |
| Laser Source | CO2 Glass Laser Tube or CO2 RF Metal Laser Tube |
| Mechanical Control System | Step Motor Drive & Belt Control |
| Working Table | Honey Comb Working Table |
| Max Speed | 1~400mm/s |
| Acceleration Speed | 1000~4000mm/s2 |
The Highlights of Patch Laser Cutter
Optical Recognition System

◾ CCD Camera
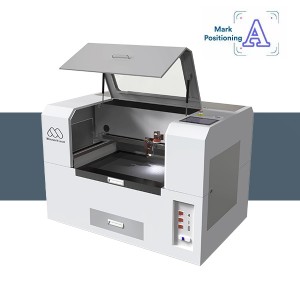
The CCD Camera can recognize and position the pattern on the patch, label and sticker, instruct the laser head to achieve accurate cutting along the contour. Top-quality with flexible cutting for customized pattern and shape design like logo, and letters. There are several recognition modes: feature area positioning, mark point positioning, and template matching. MimoWork will offer a guide on how to choose appropriate recognition modes to fit your production.
◾ Real-Time Monitoring
Together with the CCD Camera, the corresponding camera recognition system provides a monitor displayer to inspect the real-time production condition on a computer.
That is convenient for remote control and timely make an adjustment, smoothing production working flow as well as making sure safety.

Stable & Safe Laser Structure

◾ Enclosed Design
The enclosed design provides a safe and clean work environment without fume and odor leaks. You can look through the acrylic window to check the patch cutting or monitor the real-time condition of the computer displayer.
◾ Air Blower
Air assist can clean off the fume and particles generated when the laser cut patch or engrave patch. And the blowing air can help to reduce the heat affected area leading to a clean and flat edge without extra material melt.

( * Timely blowing off the waste can protect the lens from damage to extend the service life.)

◾ Emergency Button
An emergency stop, also known as a kill switch (E-stop), is a safety mechanism used to shut down a machine in an emergency when it cannot be shut down in the usual way. The emergency stop ensures the safety of operators during the production process.
◾ Signal Light
Signal light can indicate the working situation and functions exerting of laser machine, helps you to do the right judgment and operation.

With the optional Shuttle Table, there will be two working tables that can work alternately. When one working table completes the cutting work, the other one will replace it. Collecting, placing material and cutting can be carried out at the same time to ensure production efficiency.
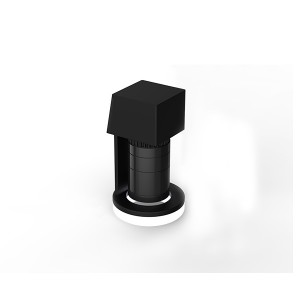
The fume extractor, together with the exhaust fan, can absorb the waste gas, pungent odor, and airborne residues. There are different types and formats to select according to actual patch production. On the one hand, the optional filtration system ensures a clean working environment, and on the other one is about environmental protection by purifying the waste.
Any questions about laser patch cutting machine price
and how to pick laser options
(Custom laser cut applique, label, sticker, printed patch)
Patch Laser Cutting Examples
▷ Pictures Browse

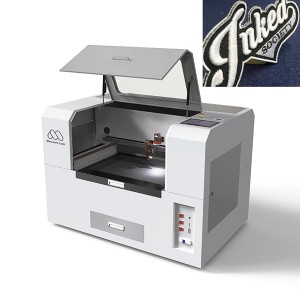
Contour laser cutter machine has the great cutting ability of laser cutting patch, labels, stickers, applique, and printed film. Accurate pattern cutting and heat-sealed edge stand out on the quality and customized designs. Besides that, laser engraving leather patches is popular to enrich more varieties and styles and add visual identification, and warning marks in functions.

▷ Video Display
How to Make Laser Cut Patches
The video briefly introduces the process of maker point positioning and patch contour cutting, hope it can help you with great knowledge of the camera system and how to operate.
Our specialized laser technicist is waiting for your questions. For more detailed information please inquire us!
How to Cut an Embroidery Patch? (By Hand)
Traditionally, to cut an embroidery patch cleanly and precisely, you need to use embroidery scissors or small, sharp scissors, a cutting mat or a clean, flat surface, and a ruler or template.
1. Secure the Patch
You need to place the embroidery patch on a flat and stable surface, such as a cutting mat or a table. Ensure that it's securely positioned to prevent it from moving while cutting.
2. Mark the Patch (Optional)
If you want the patch to have a specific shape or size, use a ruler or template to outline the desired shape lightly with a pencil or removable marker. This step is optional but can help you achieve precise dimensions.
3. Cut the Patch
Use sharp embroidery scissors or small scissors to carefully cut along the outline or around the edge of the embroidery patch. Work slowly and make small, controlled cuts to ensure accuracy.
4. Post-processing: Trim the Edge
As you cut, you may encounter excess threads or loose threads around the patch's edge. Trim these carefully to achieve a clean, finished look.
5. Post-processing: Inspect the Edges
After cutting, inspect the patch's edges to ensure they are even and smooth. Make any necessary adjustments with your scissors.
6. Post-processing: Seal the Edges
To prevent fraying, you can use a heat-sealing method. Gently pass the patch's edge over a flame (e.g., a candle or lighter) for a very brief moment.
Be extremely cautious when sealing to avoid damage to the patch. Alternatively, you can use a product like Fray Check to seal the edges. Lastly, remove any stray threads or debris from the patch and the surrounding area.
You see how much extra work you need to do if you want to cut an embroidery patch manually. However, if you have a CO2 camera laser cutter, everything will become so easy. The CCD camera installed on the patch laser cutting machine can recognize the outlines of your embroidery patches. All you need to do is place the patches on the working table of the laser cutting machine and then you are all set.
Vision Laser Cutting Machine in Action
How to Laser Cut Embroidery Patch?
How to DIY embroidery with a CCD laser cutter to make embroidery patches, embroidery trim, applique, and emblem. This video displays the smart laser cutting machine for embroidery and the process of laser cutting embroidery patches.
With the customization and digitalization of the vision laser cutter, any shapes and patterns can be flexibly designed and accurately contour cut.


